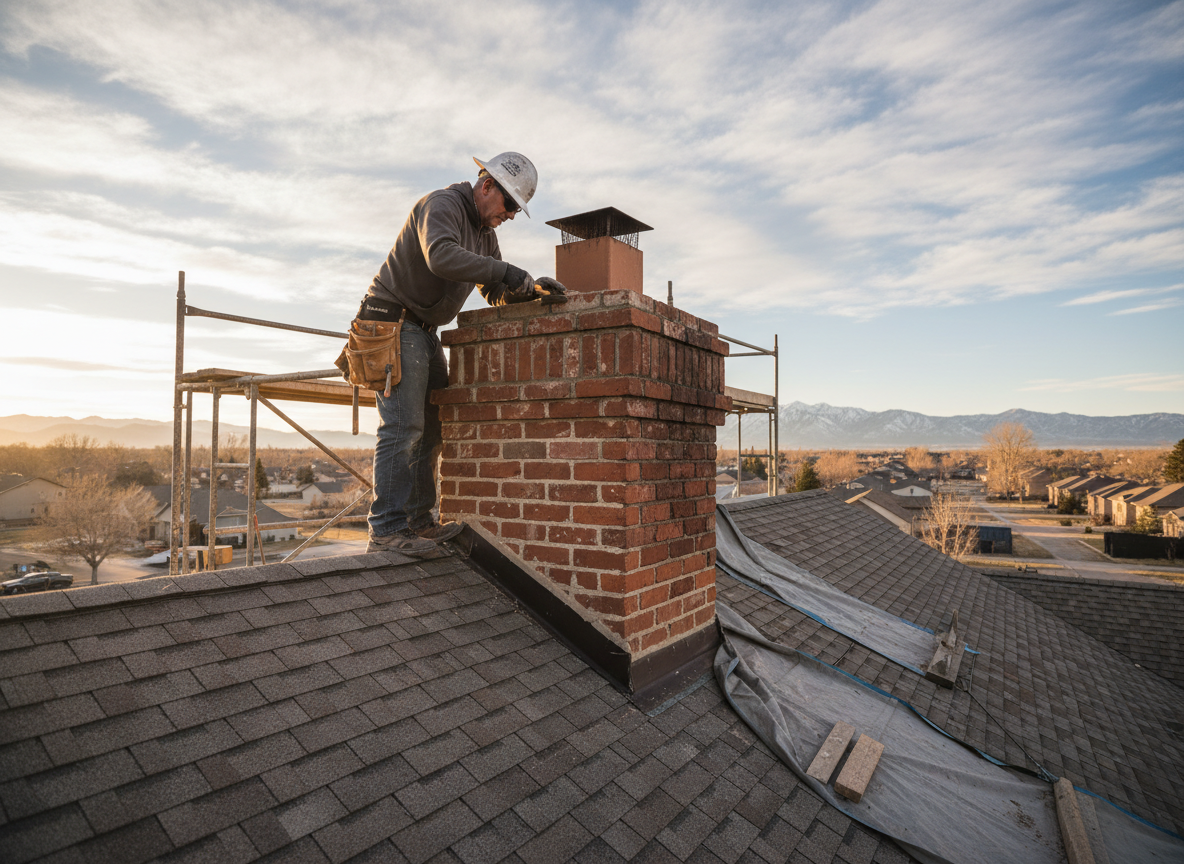
Roof chimney repair in Riverton addresses the junction where masonry meets asphalt or tile roofing. Semi-arid conditions with hot summers dry sealants quickly while cold winters drive repeated expansion and contraction that cracks flashing and mortar. Homes in Riverton Meadows and Western Springs often have older roof planes that slope toward prevailing winds, funneling snowmelt directly at the chimney base and accelerating deterioration.
Technicians begin by removing loose debris and failed caulk, then install new step flashing and counter flashing that tie into existing shingles. In Harvest Park and near Riverton City Park, many roofs sit on slopes exposed to the afternoon sun, so UV-rated sealants rated for 200-plus degree surface temperatures are required. Skipping proper underlayment or using standard caulk instead of high-temperature flashing cement leads to leaks within two seasons.
Edge cases include chimneys added after original construction that sit too close to valleys or dormers, creating ice dams in winter. Salt Lake County wind loads can also lift improperly secured flashing on exposed ridges. Repairs here always include re-securing the cricket or saddle if present and checking for rot in the roof deck around the penetration.
Technician insight
In Riverton, the thing that catches most people out with roof chimney repair is how the combination of hot summer UV and winter freeze-thaw cycles destroys standard sealant on the south-facing side of chimneys in Harvest Park and Western Springs homes built before the mid-1990s.
Winter Leak in Western Springs
Homeowner reported ceiling stains after first snow. Inspection showed cracked flashing where the chimney met the roof plane. We replaced the step flashing and sealed the junction with temperature-rated cement. No further moisture entered during subsequent storms.
How it works
- 1
Site Inspection
Examine the chimney crown, flashing, and surrounding shingles from the roof and attic to identify water entry points.
- 2
Material Removal
Strip failed sealant, damaged flashing, and loose mortar without disturbing sound roof sections.
- 3
Flashing Installation
Install new step and counter flashing tied into existing shingles using corrosion-resistant metal.
- 4
Seal and Finish
Apply high-temperature sealant, reinstall any cricket, and verify attic ventilation remains unobstructed.
Pricing
Cost depends on roof pitch, extent of flashing replacement, and whether deck repair is needed; upfront quotes provided before work begins.